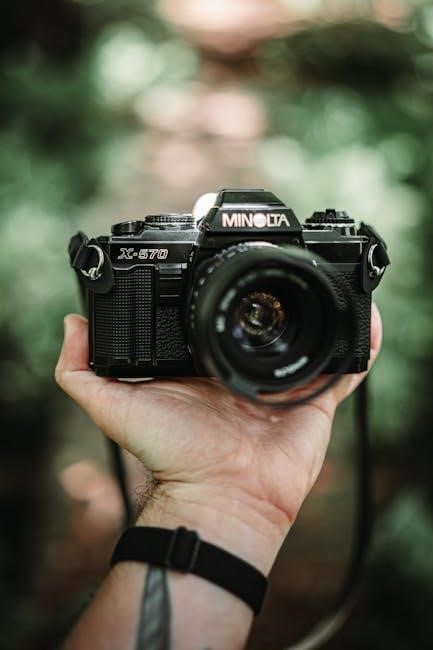
The Minolta X-700, released in 1983, is a popular 35mm SLR camera known for its electronic features and user-friendly design, offering both automatic and manual controls.
What is the Minolta X-700?
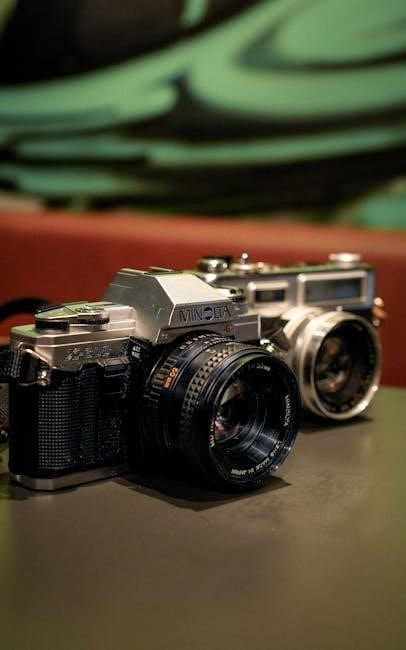
The Minolta X-700, launched in 1983, represents a pivotal point in 35mm SLR camera technology. It’s celebrated as the first mainstream SLR to fully integrate electronic control with a mechanically reliable shutter. This blend offered photographers a versatile experience, bridging the gap between fully automatic and complete manual operation.
Unlike earlier models, the X-700 doesn’t rely on a mercury battery, utilizing readily available AA batteries instead. Its electronic program mode automatically sets both aperture and shutter speed for optimal exposure, while shutter priority and manual modes grant full creative control; The camera’s robust build quality and user-friendly interface contributed to its enduring popularity among both amateur and professional photographers, making it a classic choice for film enthusiasts today.
Why Use a Manual?
While the Minolta X-700 offers convenient automatic modes, understanding the camera’s manual functions unlocks its full potential. A manual provides detailed explanations of aperture, shutter speed, and their interplay, fostering a deeper understanding of photographic principles. This knowledge empowers you to move beyond “point-and-shoot” and intentionally control depth of field, motion blur, and overall image aesthetics.
Furthermore, the manual clarifies the camera’s metering system and exposure compensation, crucial for accurate results in challenging lighting conditions. It details advanced features like multiple exposures and self-timer operation. Ultimately, mastering the X-700 through its manual transforms you from a camera user into a photographer, capable of consistently achieving your creative vision.
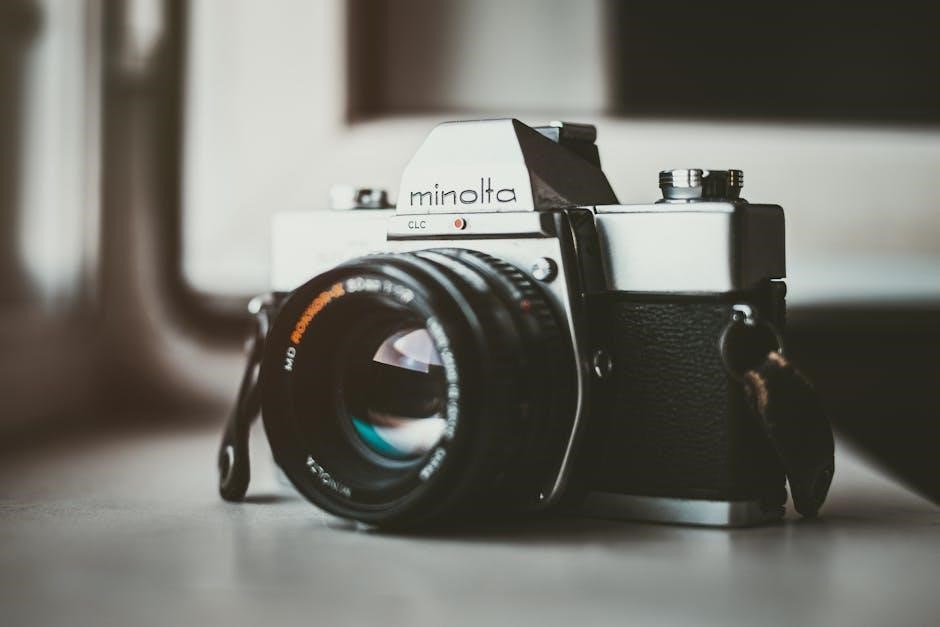
Understanding the Camera Body
The Minolta X-700’s body houses essential controls for film loading, exposure settings, and focusing. Familiarizing yourself with these elements is key to operation;
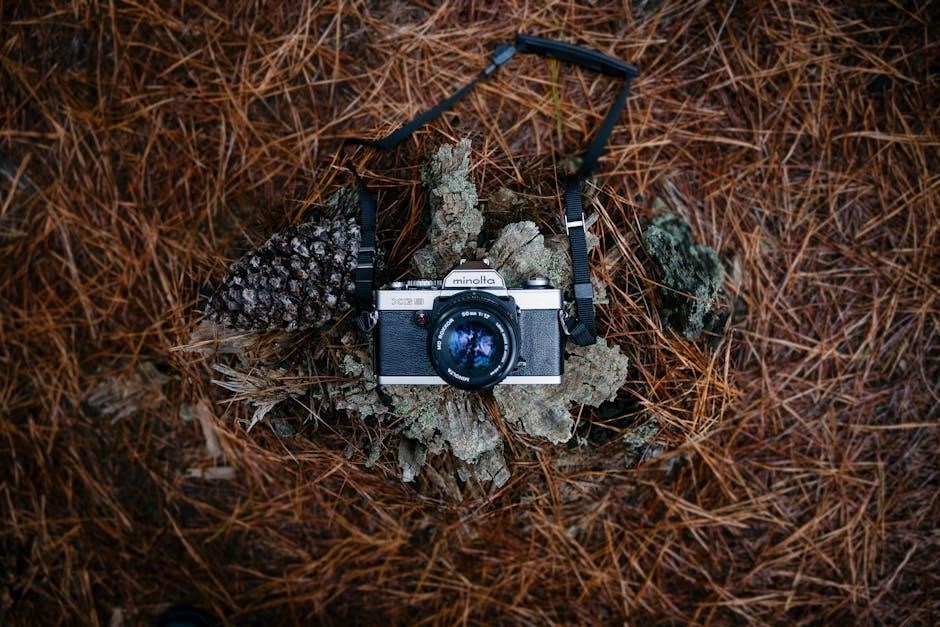
Front View: Lenses and Controls
The Minolta X-700’s front panel is dominated by the lens mount, compatible with Minolta’s MC and MD lenses. A prominent aperture control ring resides on the lens itself, allowing adjustment of the lens opening for depth of field and exposure. To the right of the lens mount, you’ll find the lens release button – press and hold to detach the lens.
Below the lens mount is the self-timer indicator. The X-700 also features a small window displaying the film loading indicator. Carefully observe this when loading film to ensure proper advancement. The front of the camera body is relatively clean, prioritizing a streamlined aesthetic and easy lens changes. Remember to always handle lenses with care, avoiding touching the glass surfaces.
Rear View: Viewfinder and Settings
The rear panel of the Minolta X-700 centers around the bright, clear viewfinder. Surrounding it, you’ll find key settings. The film rewind knob and crank are located on the left, used for rewinding exposed film. To the right, the film advance lever allows for manual film transport.
Below the viewfinder is the mode dial, selecting Aperture Priority, Shutter Priority, or Manual exposure. The LCD screen displays crucial settings like shutter speed, aperture, and exposure compensation. A diopter adjustment dial corrects for individual eyesight. The hot shoe for an external flash sits atop the viewfinder. Familiarize yourself with these controls for optimal shooting.
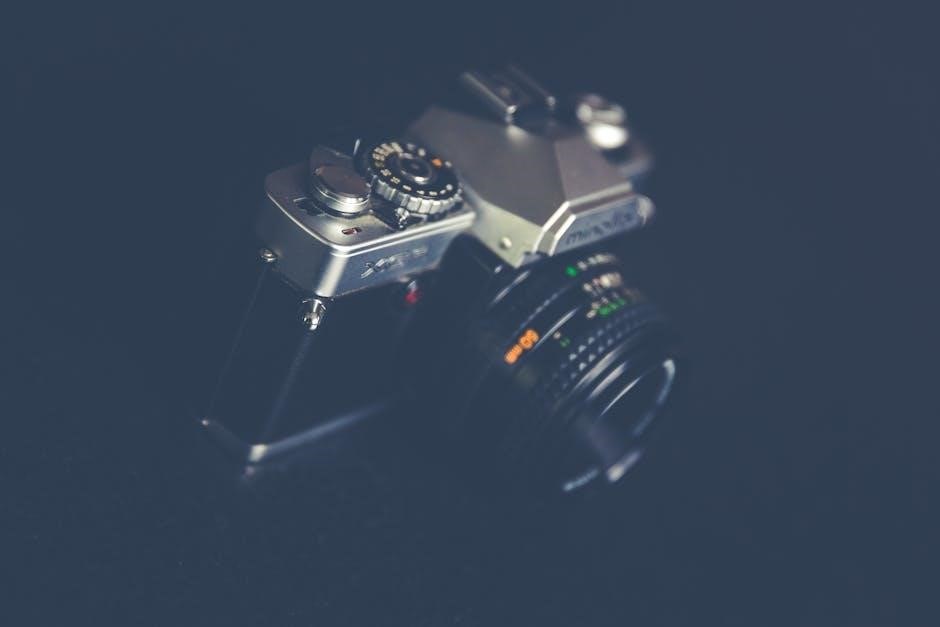
Top View: Shutter Speed and Exposure Compensation
The top deck of the Minolta X-700 houses essential controls. The electronic shutter speed dial allows selection from 2 seconds to 1/1000th of a second, plus Bulb mode for long exposures. A film counter displays the number of frames shot. Adjacent to the shutter dial is the exposure compensation dial, crucial for fine-tuning exposure in Aperture Priority or Shutter Priority modes.
This dial adjusts the meter’s reading, allowing you to brighten or darken images. The PC sync terminal connects to external studio strobes. The ISO/ASA dial sets the film speed, informing the camera’s metering system. Understanding these controls is vital for achieving desired photographic results.
Bottom View: Battery Compartment and Film Advance
The Minolta X-700’s underside reveals the battery compartment, accepting four SR44 or equivalent 1.5V silver-oxide batteries. Proper battery installation is crucial for all electronic functions. The film advance lever, when wound, both advances the film and cocks the shutter. A film rewind crank facilitates rewinding the exposed film back into the cassette;
A small recessed reset button is located nearby, useful for resolving certain electronic errors. The tripod socket is centrally positioned for stability. Always ensure the camera is securely mounted before use. Correct film loading and winding are essential for successful photography.
Loading and Unloading Film
Proper film handling is vital for quality images. The Minolta X-700 features a straightforward film loading and rewinding process, ensuring correct exposure and results.
Opening the Camera Back
To access the film chamber on your Minolta X-700, locate the film rewind knob on the left side of the camera. Pull the knob upwards until it clicks; this simultaneously releases the camera back latch. Gently lift the camera back cover to open it, revealing the film compartment.
Exercise caution when opening the back, especially in bright sunlight, to avoid accidental light leaks that could fog your film. Ensure the camera is pointed away from direct light sources during this process. Once open, you’re ready to load a new roll of 35mm film or retrieve a previously exposed one. Remember to close the back securely after loading or unloading.
Loading 35mm Film
With the camera back open, place the 35mm film canister into the film chamber on the left side. Ensure the film leader extends across the camera and engages with the take-up spool on the right. Gently advance the film using the film advance lever, ensuring the sprocket holes on the film align with the teeth on the sprocket wheel.
Continue advancing the film until the film leader is securely attached to the take-up spool. Close the camera back firmly until it clicks shut. The film counter will automatically reset to ‘S’ and begin incrementing with each frame advanced. Always check that the film is properly loaded before shooting.
Advancing the Film
To advance the film after each exposure, smoothly stroke the film advance lever located on the top right of the camera body. Fully extend and release the lever; do not force it. Observe the film counter in the viewfinder, which displays the number of frames exposed.
The X-700 automatically resets the frame counter to ‘S’ when you open the back, and it increments with each frame advanced. Ensure a smooth, complete stroke of the lever to prevent potential film damage or incomplete frame advancement. Consistent advancement is key for proper exposure and image capture.
Rewinding the Film
Once you’ve reached the end of the film roll, rewind it back into the cassette. Locate the rewind crank on the top left of the camera. Lift the rewind knob and turn it in the direction of the arrow. A gentle, consistent pressure is best; avoid forcing it.
You’ll feel resistance initially, which will lessen as the film winds back. Continue rewinding until you feel the film completely detach from the take-up spool. Then, open the camera back to remove the film cassette. Proper rewinding prevents light leaks and ensures your photos are safely stored.
Exposure Settings
The Minolta X-700 offers versatile exposure control, including Aperture Priority, Shutter Priority, and full Manual modes, alongside an exposure compensation dial.
Aperture Priority Mode
In Aperture Priority mode, you, the photographer, select the desired aperture (f-stop) to control the depth of field – how much of the image is in focus. The Minolta X-700 then automatically sets the shutter speed to achieve proper exposure. This is ideal for controlling creative effects like background blur (bokeh) with wider apertures or maximizing sharpness throughout the scene with smaller apertures.
To use Aperture Priority, set the camera dial to ‘A’. The viewfinder will display the shutter speed the camera has chosen. Remember to check this speed; if it’s too slow, you risk camera shake. Utilize the exposure compensation dial to fine-tune the exposure if needed, especially in challenging lighting conditions. This mode balances creative control with automatic convenience.
Shutter Priority Mode
Shutter Priority mode allows you to dictate the shutter speed, controlling how motion is captured in your photographs. This is particularly useful for freezing fast action – like sports or wildlife – with a fast shutter speed, or intentionally blurring motion – such as flowing water – with a slower one. The Minolta X-700 will automatically select the appropriate aperture to achieve correct exposure.
Set the camera dial to ‘S’ to engage Shutter Priority. The viewfinder will display the aperture the camera has chosen. Be mindful of the aperture value; a very wide aperture might result in a shallow depth of field. Use the exposure compensation dial to adjust the exposure if the camera’s automatic setting doesn’t quite match your vision.
Manual Mode
Manual Mode grants you complete creative control over both the aperture and shutter speed. This mode is ideal for situations where the camera’s automatic settings might be misled, such as scenes with strong backlighting or unusual lighting conditions. It also encourages a deeper understanding of the exposure triangle.
Switch the camera dial to ‘M’ to enter Manual Mode. You’ll then independently adjust both the aperture and shutter speed using their respective dials. Rely on the viewfinder’s metering system as a guide – the needle will indicate whether your settings will result in over or underexposure. Practice and experimentation are key to mastering Manual Mode!
Exposure Compensation Dial
The Exposure Compensation Dial allows you to fine-tune the camera’s exposure in Aperture Priority or Shutter Priority modes. It’s crucial when the camera’s meter is fooled by particularly bright or dark scenes, leading to incorrect exposures. The dial is marked with + and — values, typically in half or full-stop increments.
Turning the dial towards the ‘+’ sign instructs the camera to brighten the image, while ‘-‘ darkens it. For example, shooting a snowy scene? Use positive compensation. A dark subject against a bright background? Negative compensation might be needed. Experiment to achieve the desired results!
Focusing and Metering
Achieving sharp images with the Minolta X-700 relies on mastering focusing techniques and understanding the camera’s metering system for accurate exposures.
Focusing Techniques
The Minolta X-700 offers several focusing methods. Utilizing the split-image rangefinder in the viewfinder is crucial for precise focusing; align the split image for sharpness. Alternatively, employ the fine-matte focusing screen, observing the subject’s clarity. For moving subjects, pre-focus on a point and then track the subject within the frame. Remember to confirm focus before releasing the shutter.
Depth of field plays a vital role. Smaller apertures (higher f-numbers) increase depth of field, keeping more of the scene in focus. Conversely, larger apertures (lower f-numbers) create a shallow depth of field, isolating the subject. Practice these techniques to consistently achieve sharp, well-focused photographs with your X-700.
Metering Modes Explained
The Minolta X-700 provides two primary metering modes: Averaging and Spot. Averaging metering considers the entire frame, suitable for general scenes with balanced lighting. Spot metering, activated by pressing the button around the shutter release, measures light from a small central area – ideal for challenging lighting or specific subject emphasis.
Understanding these modes is key to correct exposure. Averaging can be fooled by strong backlighting or bright/dark subjects. Spot metering allows precise control, but requires careful selection of the metering point. The viewfinder displays a needle indicating exposure; adjust aperture/shutter speed accordingly for a centered reading.
Using the Viewfinder Meter
The Minolta X-700’s viewfinder features a crucial exposure meter. A needle indicates whether the scene is underexposed (left of center), overexposed (right of center), or correctly exposed (centered). Adjust your aperture and shutter speed settings until the needle aligns with the center mark for optimal results.
Pay attention to the LED indicators (+/-) flanking the needle; these signal significant over or underexposure, even when the needle is within the range. Remember to select the appropriate metering mode (averaging or spot) before taking a reading. Practice using the meter in various lighting conditions to develop your skills.
Advanced Features
The Minolta X-700 offers depth of field control, multiple exposure capabilities, and a convenient self-timer, expanding creative possibilities beyond basic photography.
Depth of Field Control
Depth of field refers to the portion of your image that appears acceptably sharp. The Minolta X-700 allows precise control over this through aperture settings. A wider aperture (smaller f-number like f/2.8) creates a shallow depth of field, ideal for isolating subjects with a blurred background – perfect for portraits. Conversely, a narrower aperture (larger f-number like f/16) yields a greater depth of field, keeping more of the scene in focus, suitable for landscapes.
Utilize the Aperture Priority mode for easy depth of field adjustments. The camera automatically selects the correct shutter speed based on your chosen aperture and the light meter reading. Experiment with different apertures to understand their impact on your images and achieve the desired creative effect. Remember, focal length also influences depth of field; longer focal lengths generally produce shallower depths of field.
Multiple Exposure Function
The Minolta X-700 offers a multiple exposure function, allowing you to combine two or more images onto a single frame of film. To activate it, engage the multiple exposure switch located on the camera body. After each exposure, the film does not advance. You can then compose and take another shot on the same frame.
Remember to compensate for the cumulative exposure. If each shot would normally receive an exposure value of EV 0, after two exposures, the film will have received EV +2. Consider using slower shutter speeds or smaller apertures to avoid overexposure. Deactivate the multiple exposure switch after completing your desired number of exposures to resume normal film advance.
Self-Timer Operation
The Minolta X-700’s self-timer allows for delayed shutter release, perfect for self-portraits or group photos where you need to be in the frame. Activate the self-timer by sliding the self-timer lever, located near the shutter button, to the “Timer” position. A red lamp on the camera’s top plate will illuminate, indicating the timer is active.
The delay is approximately 10 seconds. Press the shutter button fully; the camera will begin the countdown. Once the timer reaches zero, the shutter will release automatically. To cancel the self-timer before it fires, slide the lever back to the “Off” position. Ensure a stable surface or use a tripod to prevent camera shake during the delay.
Troubleshooting Common Issues
Addressing typical problems with the Minolta X-700, such as film advance issues, metering inaccuracies, or a non-firing shutter, ensures continued photographic enjoyment.
Film Not Advancing
If the film isn’t advancing after taking a picture with your Minolta X-700, several factors could be at play. First, ensure the film leader is correctly engaged onto the take-up spool. Gently tug on the film to confirm it’s securely attached.
Secondly, check the battery; a weak battery can prevent proper operation of the motor drive. Replace the batteries with fresh ones. Also, verify the film rewind knob isn’t being accidentally turned during shooting, as this can resist film advance.
Finally, inspect for any obstructions within the film chamber. If the issue persists, a professional camera repair might be necessary to address potential mechanical problems within the film transport mechanism.
Metering Problems
Experiencing inaccurate metering with your Minolta X-700? Begin by ensuring the lens contacts are clean and free of corrosion, as these transmit metering information to the camera body. Gently wipe them with a clean, dry cloth. Also, confirm you’ve selected the correct metering mode – spot, center-weighted, or averaging – for your shooting situation.
Low battery voltage can also cause metering inaccuracies. Replace the batteries with fresh ones. If the problem continues, check if the viewfinder is displaying correct exposure readings. If not, a camera service might be needed to recalibrate the metering system.
Shutter Not Firing
If your Minolta X-700’s shutter isn’t firing, first verify the battery is correctly installed and has sufficient charge. A weak battery is a common culprit. Ensure the camera isn’t in Bulb mode, which requires continuous pressure on the shutter button. Also, check the film advance lever; the shutter won’t operate if the film isn’t advanced.
Confirm you’re not attempting to shoot in fully automatic mode without sufficient light. Try switching to Manual or Aperture Priority. If these steps fail, the shutter mechanism itself may require professional servicing. Do not attempt to disassemble the camera yourself.
Maintenance and Care
Regular cleaning and proper storage will ensure your Minolta X-700 remains in optimal working condition, preserving its functionality for years of photographic enjoyment.
Cleaning the Lens
Maintaining a clean lens is crucial for sharp, clear photographs with your Minolta X-700. Dust and fingerprints can significantly degrade image quality. Begin by using a blower brush to gently remove loose particles.
For stubborn smudges or fingerprints, utilize a lens cleaning solution specifically designed for camera lenses and a high-quality microfiber cloth. Apply a small amount of solution to the cloth – never directly onto the lens.
Wipe the lens in a circular motion, starting from the center and moving outwards. Avoid excessive pressure. Inspect the lens for any remaining streaks and repeat if necessary with a clean portion of the cloth. Regular, gentle cleaning prevents buildup and ensures optimal performance.
Battery Replacement
The Minolta X-700 utilizes a standard 4LR44/PX28 battery to power its electronic functions, including the light meter and shutter speed display. When the battery warning light illuminates in the viewfinder, it’s time for a replacement.
Locate the battery compartment on the bottom of the camera; Use a small screwdriver to open the compartment cover. Carefully remove the old battery, noting its orientation.
Insert the new battery, ensuring the positive (+) and negative (-) terminals align correctly. Securely close the battery compartment cover. The camera should now function normally, with the viewfinder display active. Always dispose of used batteries responsibly.
Storage Recommendations
Proper storage is crucial for maintaining your Minolta X-700’s condition and longevity. When not in use, store the camera in a cool, dry place, away from direct sunlight and extreme temperatures.
Remove the batteries to prevent potential corrosion and damage to the internal components. A camera bag or case provides excellent protection against dust, moisture, and accidental impacts.
Consider using silica gel packets inside the storage container to absorb any residual moisture. Periodically check the camera for signs of mold or mildew, especially if stored in a humid environment. Careful storage ensures your X-700 remains ready for your next photographic adventure.